
📑 Table of Contents
- Introduction
- 1 — Clean the Drum Right After Each Use
- 2 — Check Wheels and Bearings Monthly
- 3 — Lubricate Moving Parts Every Few Months
- 4 — Tighten All Bolts Before Starting Work
- 5 — Store the Mixer in a Dry Place
- 6 — Keep the Motor and Electrical Parts Clean
- 7 — Keep the Drum Interior Smooth
- Our Business Partner
Dropping money on a mixer means expecting it to last, which is why a Compact Cement Mixer Maintenance Guide is essential. Nobody buys one thinking it will break down after six months. But here is what happens — concrete dries inside. Bolts work loose. Bearings wear out. Wheels stop rolling smoothly. Small problems turn into big ones fast. A machine that should run for years starts giving trouble within months. All because of simple neglect that takes minutes to prevent.
The good news is that most issues are easy to avoid. A compact cement mixer does not need a mechanic on speed dial. It does not require expensive tools. All it needs is basic, regular care as outlined in this Compact Cement Mixer Maintenance Guide. A quick clean after each use. A fast inspection before starting. Some oil on moving parts now and then. Nothing complicated. Nothing time-consuming.
This Compact Cement Mixer Maintenance Guide lays out seven simple steps. Nothing fancy. Nothing technical. Just practical methods that work. Following a proper Compact Cement Mixer Maintenance Guide ensures machines keep running for years. Mixers that do not end up as scrap. The difference is just a few minutes of attention per use.
1 — Clean the Drum Right After Each Use
Concrete hardens fast. What looks like a tiny bit of leftover material at the end of a pour turns rock-solid within hours. That hardened concrete ruins drum balance. The machine wobbles. The motor strains harder. Bearings wear faster. All because of material that should have been washed out.
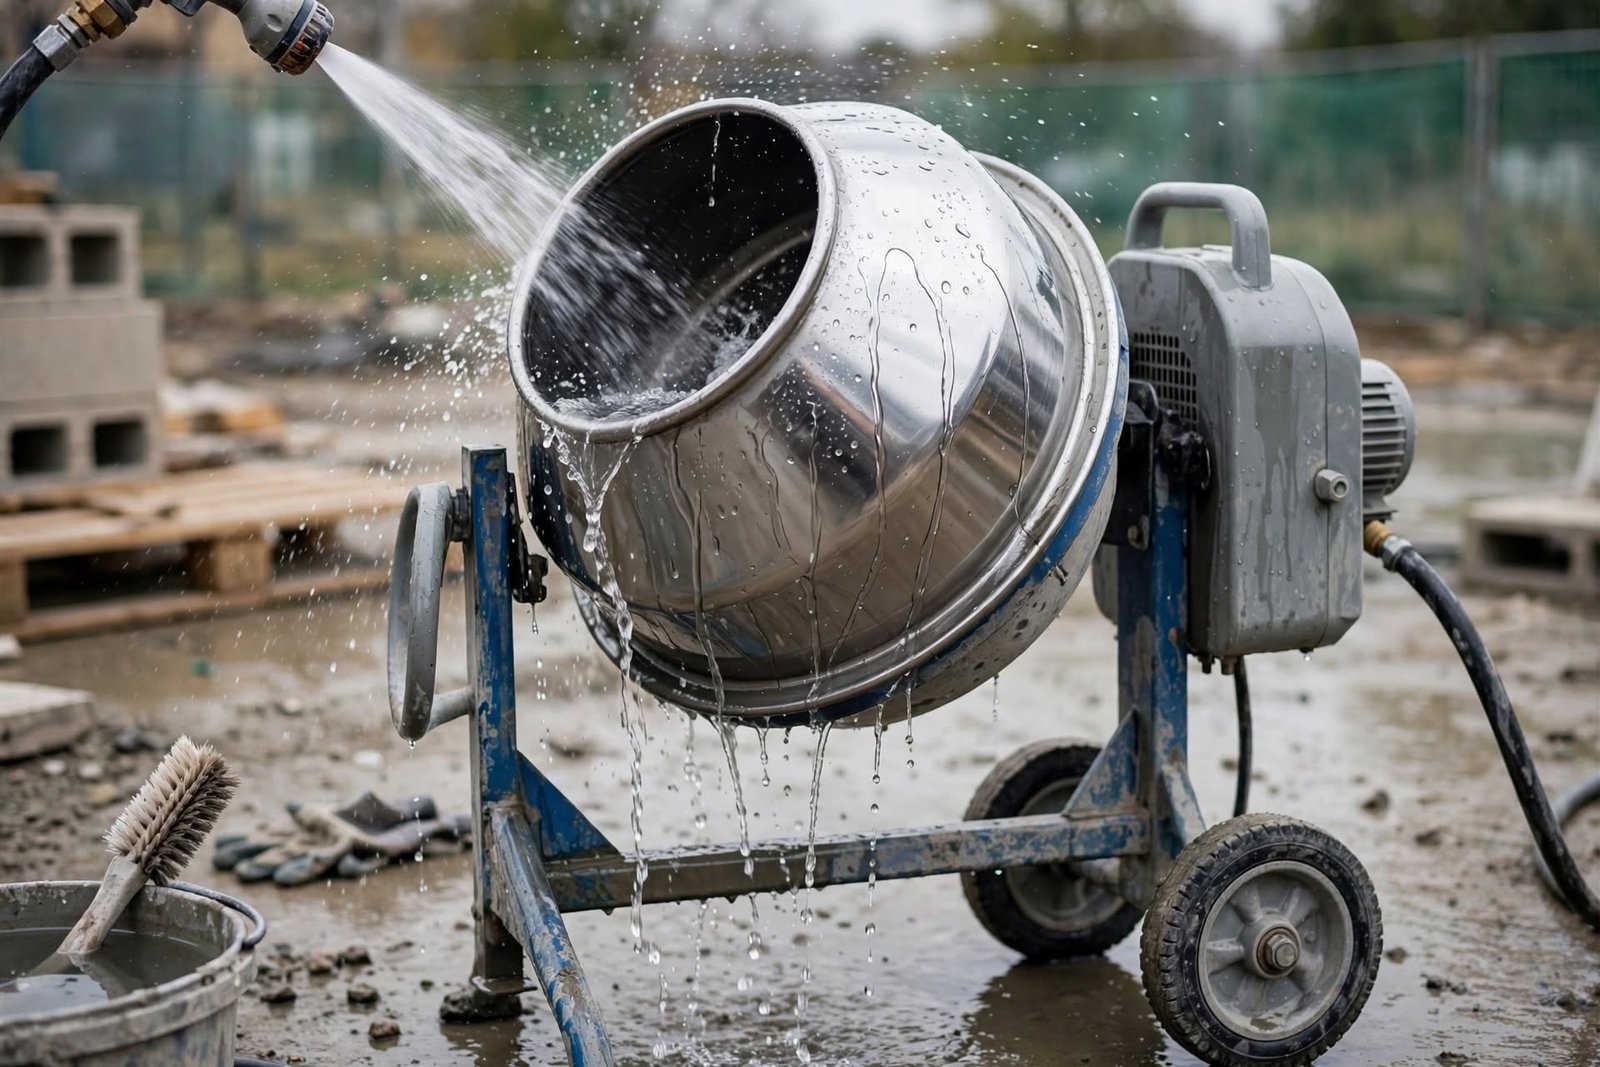
According to any good Compact Cement Mixer Maintenance Guide, cleaning the drum takes almost no time. Right after emptying the last batch, spray the drum with a hose. A standard garden hose with a spray nozzle works fine for fresh concrete. Rotate the drum by hand while spraying. Let water carry out loose material. That usually does the job.
✨ Pro Tip: Managing Tough Residue
For tougher residue, use a hammer and chisel gently. Chip away at hardened spots without gouging the drum surface. Steel drums handle some chipping, but heavy pounding causes dents and uneven spots. Poly drums need more care — sharp tools can crack or scratch them. One good trick is adding water and a few large stones to the drum and letting it rotate for a few minutes.
Never let concrete dry inside a compact cement mixer drum. That single rule prevents most major issues. Mixers that stay clean run smoother and last longer. This Compact Cement Mixer Maintenance Guide puts drum cleaning at the top because nothing matters more.
2 — Check Wheels and Bearings Monthly
Wheels take abuse on job sites. Gravel, dirt, mud, and rough pavement all wear down tires and bearings. A machine that does not roll smoothly becomes hard to move—a key point in this Compact Cement Mixer Maintenance Guide. Bad bearings make the machine tough to control. Flat or worn tires cause wobbling during operation.
Check wheels at least once a month. Spin each wheel by hand and listen for grinding or scraping. That noise means worn bearings need replacement. Grab the wheel at the top and bottom and try to wiggle it. Too much play means loose bearings or worn axle parts. Tighten wheel nuts if needed, but worn bearings usually need replacing.
Tires matter too. Solid rubber tires last longer than pneumatic ones but offer less shock absorption. Pneumatic tires need proper air pressure — too low and they drag, too high and they bounce. Check tire condition regularly. Cracks, bulges, or worn treads mean new wheels are needed.
As noted in our Compact Cement Mixer Maintenance Guide, good wheels make it much easier to use. Rolling the machine from one spot to another should not be hard work. Regular wheel and bearing inspections prevent sudden breakdowns on site. A quick monthly check catches problems before they become expensive repairs.
3 — Lubricate Moving Parts Every Few Months
Every moving part needs oil, an essential step in this Compact Cement Mixer Maintenance Guide. The drum pivot points. The tilting mechanism. The wheel bearings. The motor shaft bearing. Without proper lubrication, metal rubs against metal. Friction increases. Parts wear faster. The machine makes noise. Eventually, something fails.
Apply light machine oil or spray lubricant to all moving joints every few months. One or two drops at each pivot point usually does the job. Wipe away excess oil to prevent dirt buildup. The goal is to keep parts moving smoothly, not to create an oily mess.
Some compact cement mixer models have grease fittings. If the machine has these, use a standard grease gun to apply fresh grease to each fitting. Bearings in sealed hubs cannot be greased directly, but rotating the wheels after applying lubricant to the axle area helps spread the oil.
Proper lubrication, a staple of any Compact Cement Mixer Maintenance Guide, extends machine life significantly. Parts that run smoothly last longer. The machine operates more quietly. Tilting and dumping become easier. Less effort is needed to move the machine around. This step takes almost no time but delivers huge benefits.
4 — Tighten All Bolts Before Starting Work
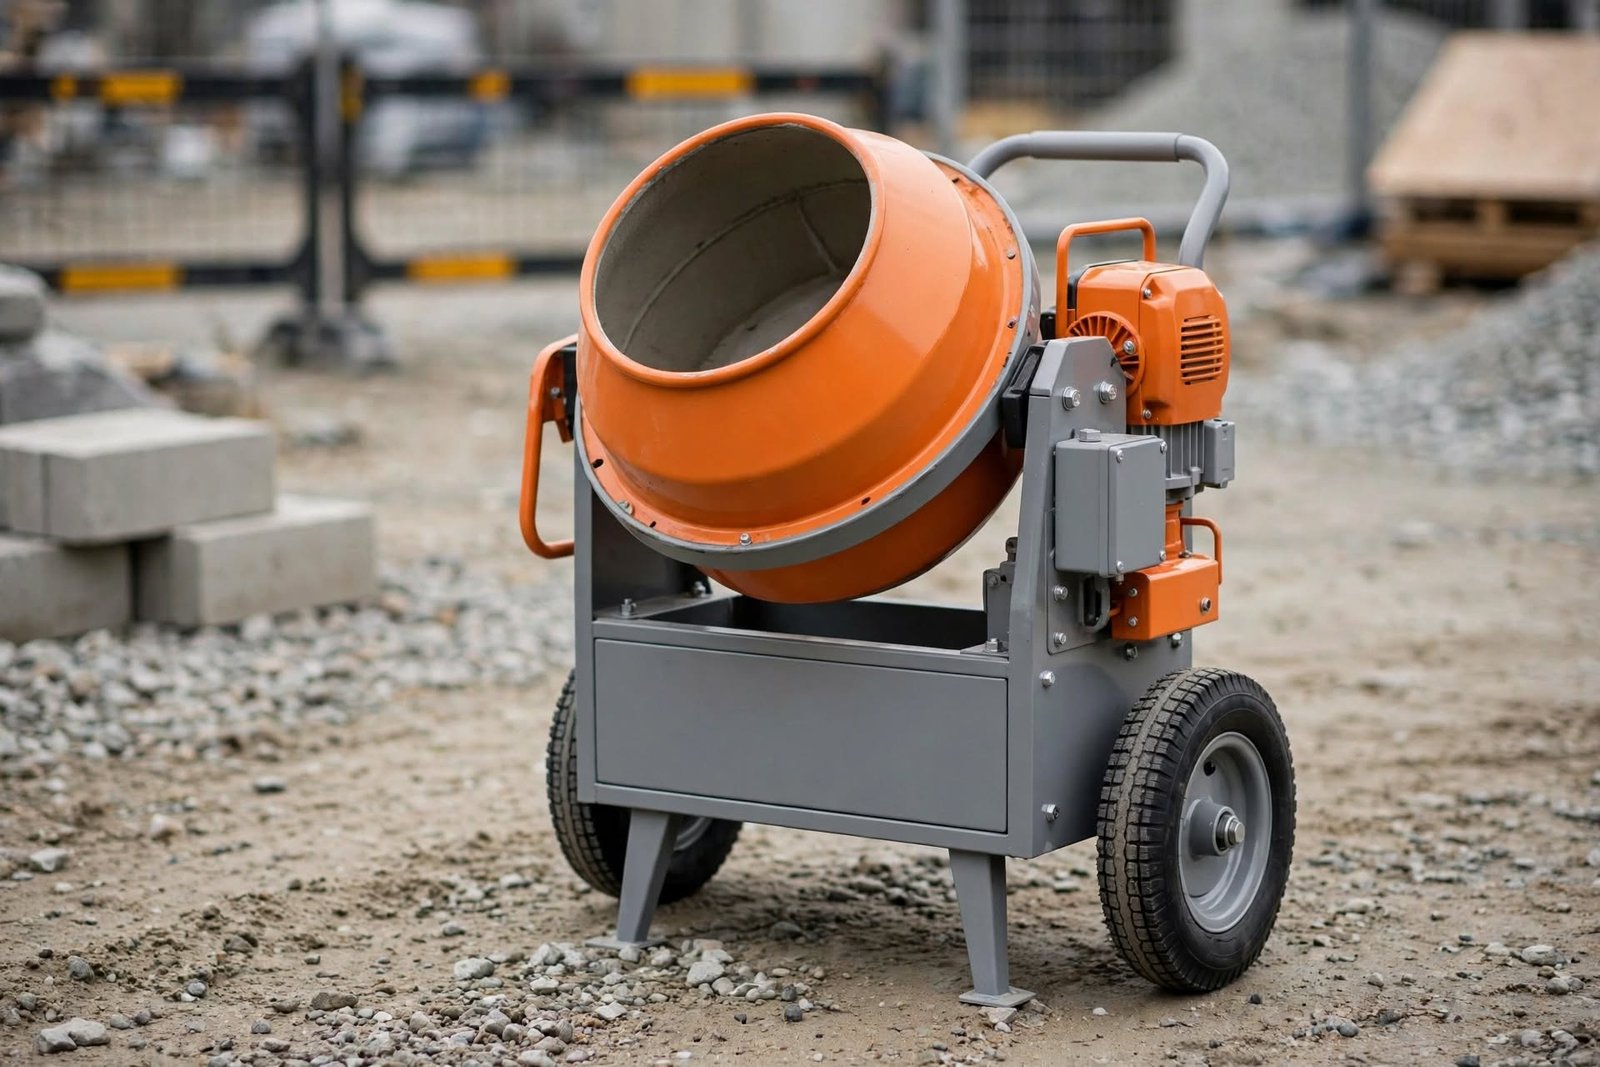
Vibration shakes bolts loose. The machine shakes during operation, making bolt checks a priority in this Compact Cement Mixer Maintenance Guide, and over time, nuts and bolts work themselves loose. Loose bolts cause real problems. The drum assembly wobbles. The motor mount shifts. The frame becomes unstable. In extreme cases, bolts fall out completely, leading to equipment failure and safety hazards.
Before starting any job, run through a quick bolt check. Pay special attention to the bolts holding the motor to the frame. Check the bolts securing the drum assembly. Inspect the hardware on the wheels. Look at the handles and tilting mechanism. Any loose fastener needs tightening before the machine gets used.
Use a standard wrench or socket set for tightening. Apply moderate pressure — over-tightening can strip threads or crack components. Following this Compact Cement Mixer Maintenance Guide ensures the machine stays tight and operates more safely. It lasts longer. The operator works with confidence knowing the equipment is not going to fall apart.
Make bolt inspection a habit. Include it in the morning routine or the pre-use checklist. A few seconds of checking saves hours of repair work down the line.
5 — Store the Mixer in a Dry Place
Storage conditions are critical, which is why they feature heavily in this Compact Cement Mixer Maintenance Guide. A machine left outside in rain and sun deteriorates fast. Paint fades. Rust forms. Tires crack. The motor housing corrodes. Electrical components fail. All because the machine was not protected from the weather.
| Condition | Impact on Equipment |
|---|---|
| Outdoor Exposure | Accelerates rust, paint fading, and electrical failure. |
| Dry/Covered Storage | Preserves motor housing and frame integrity for years. |
The best place for storage, as highlighted in this Compact Cement Mixer Maintenance Guide, is a dry area. A garage, shed, or equipment storage building works perfectly. If indoor storage is not an option, use a heavy-duty tarp to cover the machine. Make sure the cover allows some air circulation to prevent moisture buildup underneath.
Before long-term storage, follow this Compact Cement Mixer Maintenance Guide and clean it thoroughly. Drain all water from the drum. Allow the machine to dry completely. Covering a wet mixer traps moisture against the metal, accelerating corrosion. Empty the drum completely — no residue, no standing water, no wet patches.
Store the machine on a flat, stable surface. Placing it on uneven ground puts stress on the frame and wheels over time. If possible, lift the wheels slightly off the ground to prevent flat spots on tires.
6 — Keep the Motor and Electrical Parts Clean
The motor is the heart of the machine, a core focus of our Compact Cement Mixer Maintenance Guide. Electrical components that fail are expensive to replace. Moisture is the biggest threat. Dust and debris also cause issues. Motor protection requires awareness of these dangers.
Keep the motor housing clean. Wipe off dust and dirt after each use. Check the cooling vents on the motor — blocked vents cause overheating. A simple brush or compressed air blast clears out accumulated debris.
Never spray water directly at the motor when cleaning the drum. Point the hose away from the electrical housing. Even sealed motors can suffer from direct water spray. Use a damp cloth to wipe down the motor exterior instead of hosing it down.
Check the power cord regularly. Frayed cords, cracked insulation, or loose plugs need immediate replacement. Electrical shorts can cause sudden breakdowns and safety hazards. Use a cord that is the correct gauge for the machine.
7 — Keep the Drum Interior Smooth
Drum condition affects mixing quality. Steel drums develop rough spots over time. Poly drums develop scratches or gouges. Rough interior surfaces hold onto concrete, making cleanup harder and reducing mixing efficiency.
Inspect the drum interior periodically. A smooth drum produces better concrete and easier cleanup. For steel drums, light sanding can remove light rust or buildup. For poly drums, avoid abrasive tools that scratch the surface. Scratches trap material and make cleaning progressively harder.
Small dents in steel drums should be hammered out gently. Dents create dead spots where concrete collects and hardens. Poly drums cannot be hammered — heat often causes more damage than repair.
A smooth drum surface reduces the effort needed to clean after each use. A well-maintained drum produces consistent quality concrete. This final step of the Compact Cement Mixer Maintenance Guide ensures the machine continues performing at its best.
Final Thoughts
These machines cost real money, making a Compact Cement Mixer Maintenance Guide incredibly valuable. Protecting that investment makes good sense. The seven steps covered here are not hard. Most take only a few minutes. But the cumulative effect of regular maintenance is enormous.
Mixers that receive regular care last for years. They run smoothly. They produce good concrete every time. They do not break down in the middle of a project. The operator saves money on repairs and replacement parts. Work proceeds without unexpected interruptions.
Neglect destroys equipment. Concrete left inside the drum creates imbalance. Loose bolts cause wobbling and failure. Unlubricated parts wear out prematurely. Storing the machine outside invites rust and corrosion. Every one of these problems is avoidable with simple preventative care.
Sticking to a Compact Cement Mixer Maintenance Guide guarantees reliable service for years. The machine itself becomes a trusted tool rather than a constant source of frustration. The return on investment improves significantly. Follow this Compact Cement Mixer Maintenance Guide and enjoy long, productive service from the equipment.

[…] that gets handled properly performs better. A compact cement mixer that stays clean, gets regular maintenance, and operates safely lasts longer. The Compact Cement Mixer Safety Rules protect both the operator […]